Ever since I acquired a Rubies “Supreme” Boba Fett costume back in September, I’ve been researching and exploring the world of Star Wars props and costumes. In my attempt to accurize that costume, my attention has shifted away from the 1:18 scale Star Wars miniatures, and more towards 1:1 scale reproductions of weapons and armor. This has led me to a whole new group of friends and Star Wars aficionados, and toy collecting has taken a back seat of late.
However, the more I learn about what bits and pieces were used to construct the various costumes, the more I find this new hobby overlapping with a previous obsession of mine, the studio-scale filming miniatures. The same model kits that were cannibalized to detail the spaceships in Star Wars — a time-saving process known as “kitbashing” — were also used for detailing the props and costumes worn by the actors (Carrie Fisher’s Boushh outfit, for instance), and having spent as many years as I have obsessing over the original Millennium Falcon miniature, rediscovering these parts in other areas of the Star Wars universe is as exciting as an archaeological find that links birds to dinosaurs.
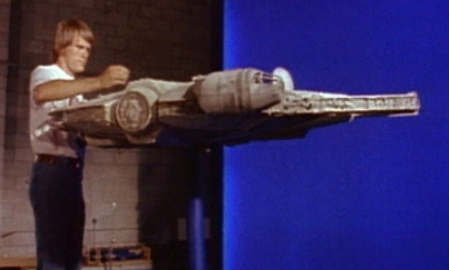
And thus it occurs to me that, while spending all that time researching and constructing my own replica of the “studio-scale” Millennium Falcon model, I’ve really been reproducing a 1:1 scale prop, rather than a 1:18 scale playset for my action figures. It was that glorious coincidence of scale that prompted me to begin my reproduction to begin with: having discovered that the filming miniature built by ILM for A New Hope in 1976 was almost exactly 1/18th the size of the Falcon set constructed at Elstree Studios in London, I realized that the original model was the perfect scale for 1:18 (otherwise known as 3 3/4″) Star Wars figures.
What followed was years of online research, various attempts to reconcile discrepancies between interior and exterior sets, prototype mockups in foamcore and styrene, and combing through hundreds and hundreds of Tamiya, Bandai, and Airfix model kits trying to find the exact parts used to detail the original model.
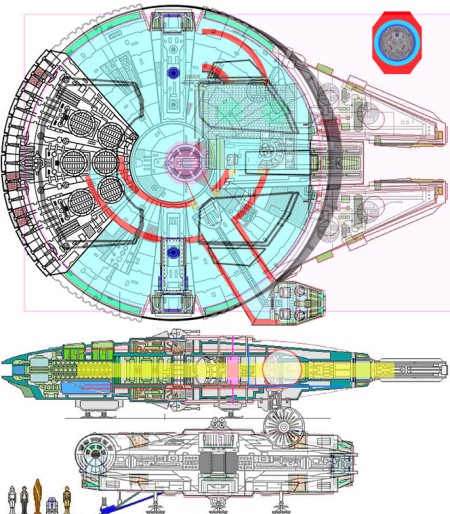
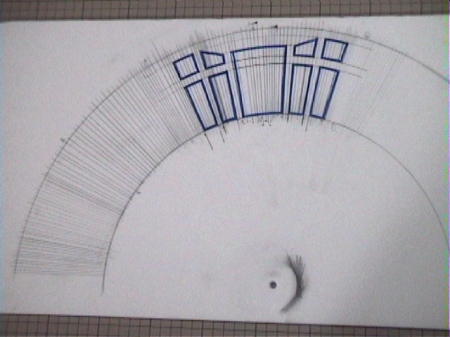
While the pioneering work of Robert Brown and David West Reynolds has been instrumental to my project, the actual work of fitting 1:18 scale reproductions of the Falcon interiors into a replica of the studio-scale model required months and months of planning. I used Photoshop to produce blueprints of the model, utilizing multiple overlapping layers to determine exactly what would fit where, and deciding where and what to compromise to actually make it work. The documents themselves are extremely detailed high-resolution images, but this simplified multi-layered rendering should give you the basic idea of what I’m attempting:
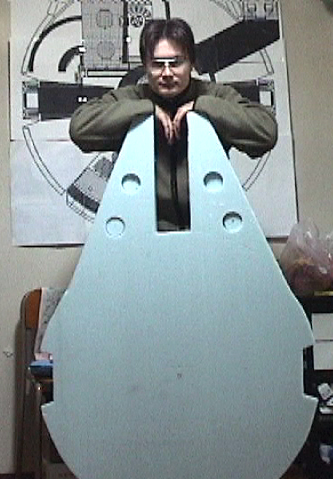
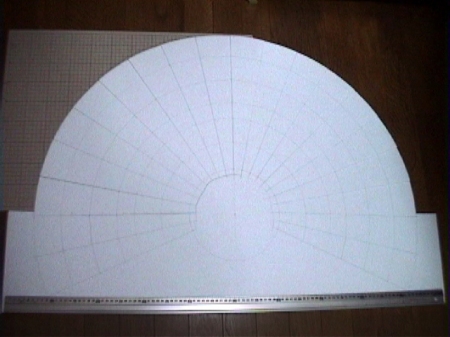
I started with a foamcore mockup of the outer hull, to determine the exact shape and dimensions required for an accurate reproduction. The base was this large piece of dense foam I bought at a hardware store, and cut to the proper shape:
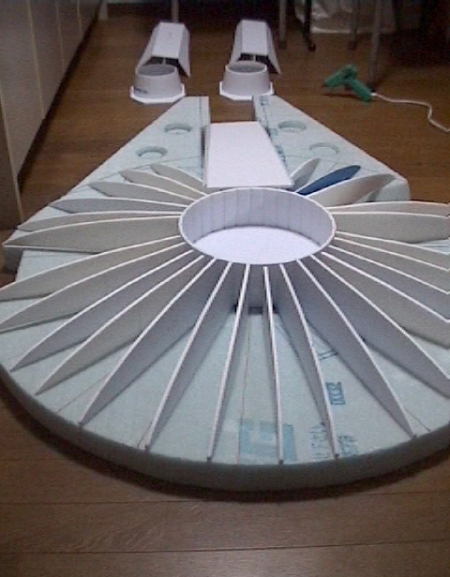
I cut foamcore ribs and hot-glued them to the base to provide an endoskeletal structure to build on.
Next, curvilinear parts were measured, cut, and folded into the proper shapes to form the hull.
The unique and distinctive shape of the cockpit required particular attention…
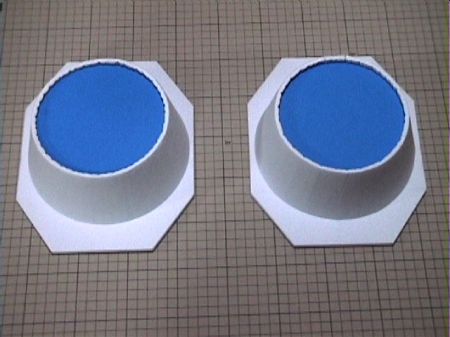
…as did the port and starboard docking rings, below which our heroes are often seen entering and exiting the ship.
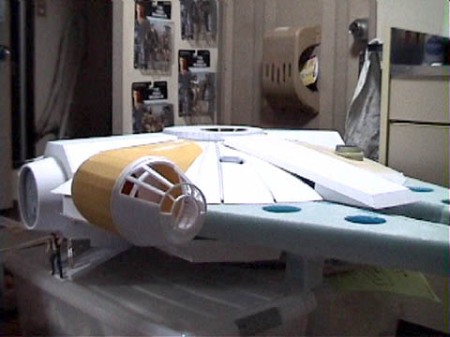
Having attached the lower hull and the cockpit, the Falcon was beginning to take shape.
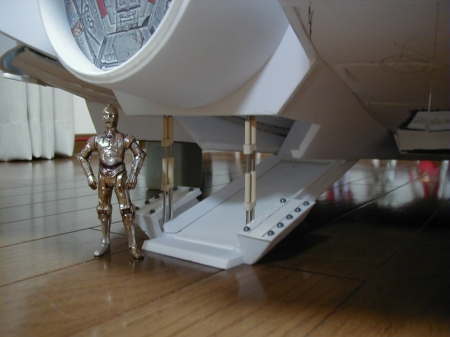
Next came the upper hull, and the boarding ramp.
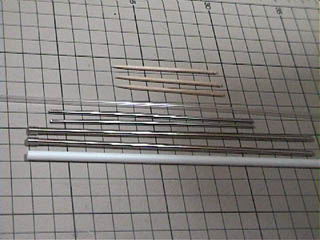
The hydraulic struts on either side of the boarding ramp are a combination of wood, styrene, PVC plastic and metal rods:
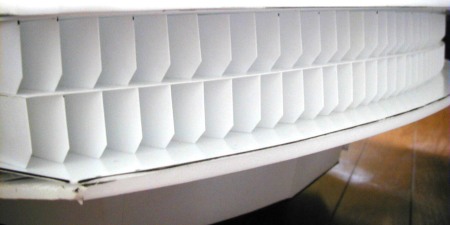
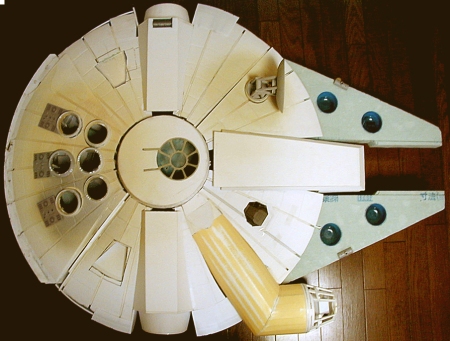
The engine grill is comprised of 68 separate styrene fins, each cut to exactly the same shape and glued one centimeter apart from each other.
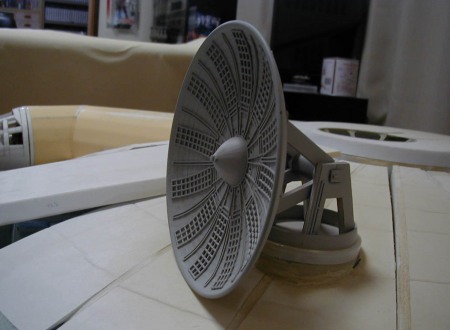
The rectenna dish, carved from a wooden tea saucer with PVC detailing, is the only part to have been primed for painting:
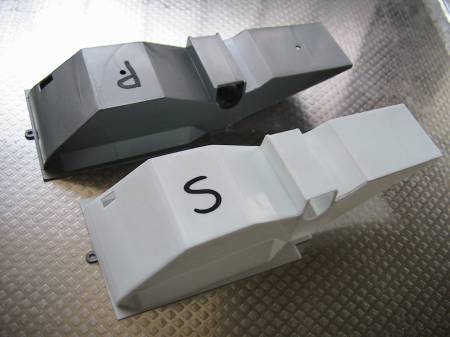
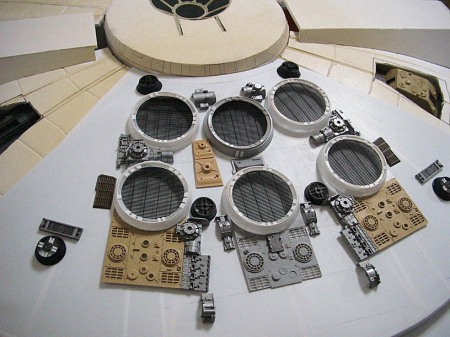
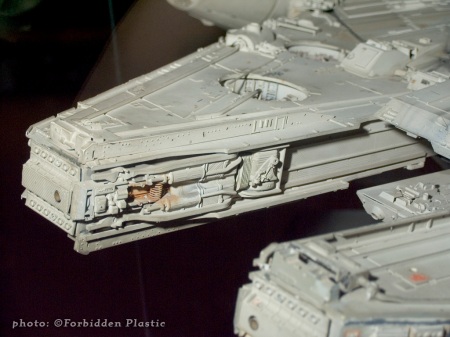
I then began to attach the model kit parts I had identified from the studio model, starting with the Tamiya 1:35 Panther engine covers (seen behind the lower three exhaust vents on the engine block).
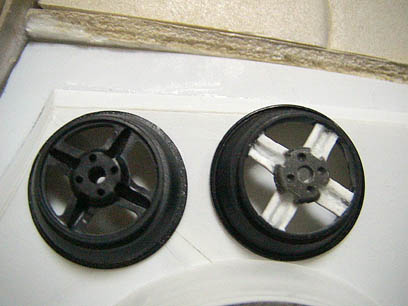
Given many of these vintage model kits are quite rare and expensive to acquire, I did my best to scratchbuild whatever parts I would require multiples of:
After building a styrene skin to attach all the kitbashed parts to, the engine deck began to take shape.
The exhaust grills are cut from exactly the same material ILM used in the ’70s (which is also the texture used to mimic the solar panels on the TIE Fighter wings):

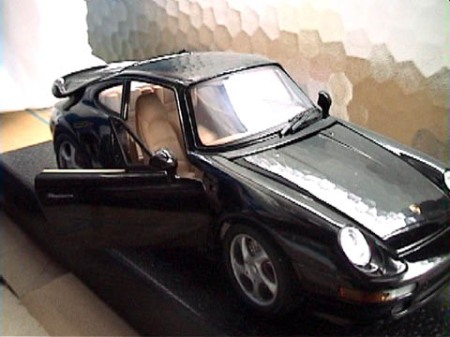
Having discovered that the seats used in the Falcon cockpit set were taken from a Porsche 911, I found a 1:18 scale diecast Porsche (with accurately-colored upholstery) to steal the chairs out of:
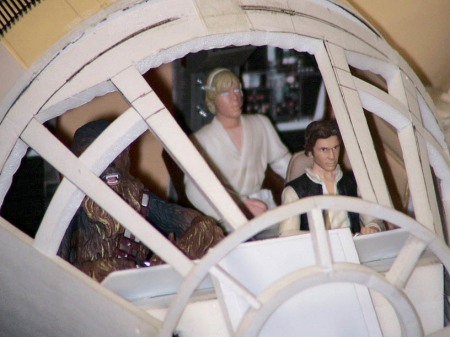
Han’s chair was mounted much higher than Chewie’s, to account for their considerable height discrepancy.
Luke’s chair (behind Han’s) is just a temporary LEGO mockup.
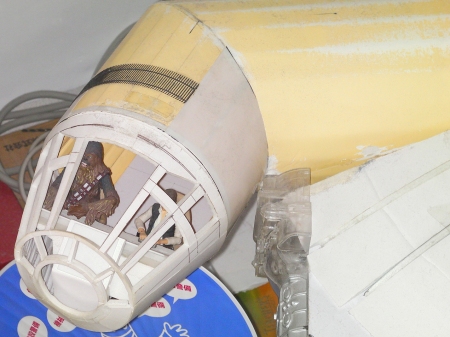
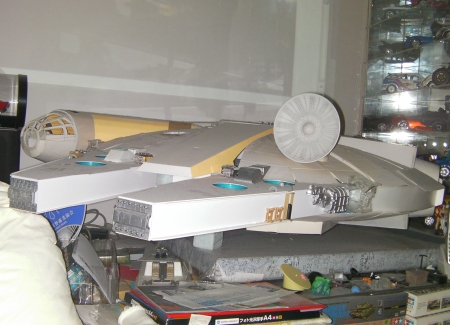
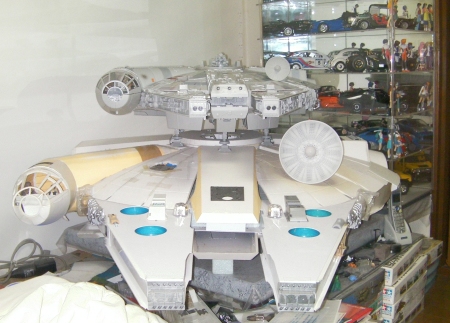
The front mandibles were then covered with a styrene skin, so that kitbashing could begin in earnest. The panels on the front are Tamiya 1/12 Ferrari 312B engine blocks, identical to those on the original model.
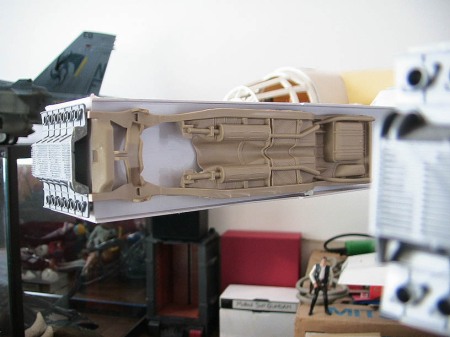
The inner mandible walls are lined with the undercarriage of an AMT/Ertl 1:25 ’57 Chevy Bel-Air. Quite an exciting find!
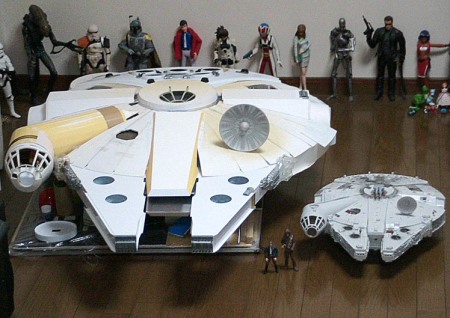
For the sake of scale comparison, I photographed my Falcon mockup next to the old Hasbro toy:
…and the new Hasbro “BMF” version, once it came out.
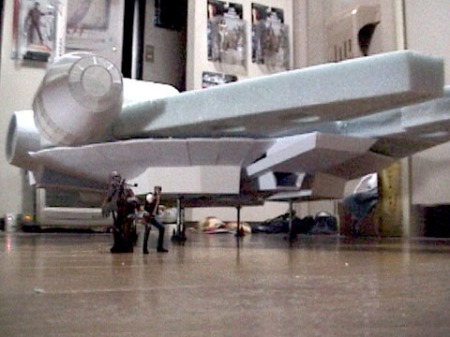
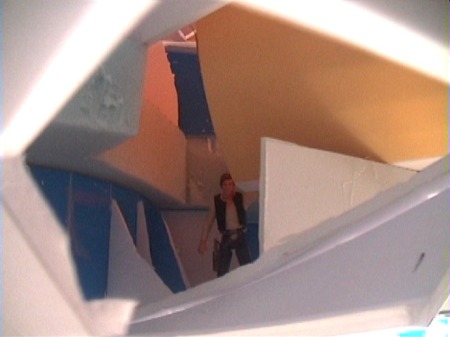
My accurately-scaled version will have a great deal more interior space, as Han inspects first-hand:
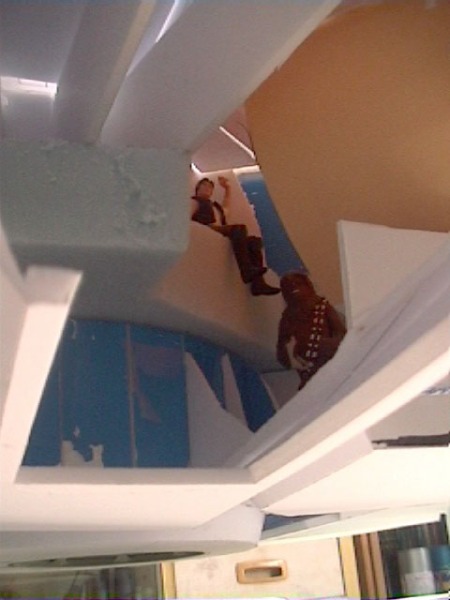
Chewie appreciates the headroom, while Han considers possible smuggling compartments.
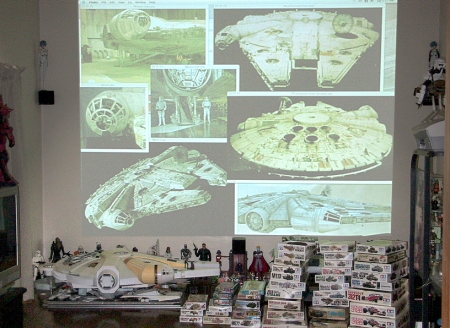
Here’s a shot of my workspace, on the living room floor. The HD video projector is an invaluable asset.
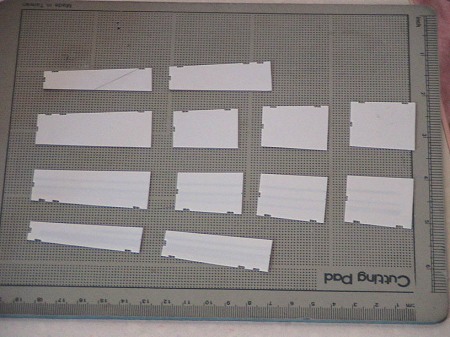
I’ve just begun cutting the hundreds of panels that will be required for detailing the upper and lower hull.
Now the real fun begins… -_-
素晴らしい仕事!!
Awesome! Which material did you use for the exhaust grills (same as the solar panels on the Tie Fighter)?
It’s called Koolshade, and there are only a couple of people in the world who still sell the stuff.
ILM used the material on the Falcon, the sandcrawler, and the AT-ST models, but most prominently on the TIEs.
http://www.therpf.com/f10/koolshade-info-tie-fighter-wing-material-175/
Awesome! Thank you so much! It looks like it’s going to be hard to find the exact-sized pieces, but there are a few manufacturers / sellers:
http://rtspecialtyconstruction.com/contact_us.html
http://koolshade.net/us/koolshade.html
You are awesome! I’m about to build my own falcon but don’t know what you used for the hull, and how did you cut the foamcore so perfect falcon shape “please if you can get that info to as soon as you can ” I’m no model maker or craft kind of guy but I love that ship and I’m going to give it a try
The Millennium Falcon may be the most well-documented starship in science-fiction history (second only to the Enterprise, perhaps), and detailed blueprints can be found just about anywhere. There are also several reference-quality reproductions available, such as the FineMolds model kits or the Master Replicas Falcon, so getting accurate dimensions to work from is the easy part!
Nonetheless, I must admit the docking rings gave me some trouble, as it took me three tries to get the right shape and size to suit the hull. The first foamcore prototypes I constructed were slightly too large and boxy, while the second set turned out too small and angled. There’s always some trial-and-error involved in getting the “perfect” Falcon shape, and I was restricted by the dimensions of the original styrofoam block I started with… Only after identifying, acquiring, and applying vintage model kit parts onto the hull did I realize the dimensions I was working with needed to be upscaled nearly 10%.
Also, be advised that foamcore by itself doesn’t have the strength to hold the structure together at this scale — especially if you’re going to leave large parts of the hull hollow for interior detailing. You’re going to need a stronger material to handle the weight of the superstructure and provide stability. I’m now working with a wooden base and steel struts for the foundation, which is a solid frame to build on top of.
Good luck with your bird! ^_^
This is one of a kind – special scratch building project! And talking about scale, it must be one big bird!
Did you manage to finish it ?
Regards,
Rok
Mercedes Benz Collection & Mercedes model range & Maybach 57s & Pagani cars